White Label Marketplace Guide: Build Client Amazon-Style

Introduction: What a White-Label Marketplace Can Help You Launch
A white label marketplace lets you launch a client-ready platform without building core marketplace software from scratch. If you want to learn how to build a white label marketplace, you can start with prebuilt tools and focus on branding, vendors, payments, and growth.
A white label marketplace is a prebuilt platform you rebrand as your own. A custom-built marketplace platform starts from zero, which gives you full control but often costs $50,000+ and takes months to ship. With white-label marketplace software, you move faster because the core features already exist.
This model works well if you run an agency, build SaaS products, or launch digital businesses for clients. You can create a branded marketplace for local services, B2B suppliers, niche retail, rentals, or curated product catalogs. The end result is a multi vendor marketplace with seller onboarding, product listings, checkout, payment splitting, and commission management.
Here’s the 6-step path you’ll follow:
- Define your niche, audience, and marketplace model.
- Choose marketplace software that fits your client and revenue goals.
- Customize branding, design, and core marketplace settings.
- Configure vendor onboarding, approvals, and seller workflows.
- Set up payments, commissions, and payout rules.
- Launch the marketplace, test key flows, and improve performance.
You’re not just launching a website. You’re building a repeatable marketplace business your clients can actually use and grow.
A client-ready marketplace starts with the right platform and a clear launch workflow.
What You’ll Need Before You Start
Start with your white label software choice. The best white label marketplace platform should support custom branding, vendor management, and room to grow from 10 sellers to 1,000+ without forcing a rebuild later.
Next, define your business requirements before you touch the dashboard. You need clear answers on:
- Your niche and target audience
- Your monetization model, such as commission, subscription, or listing fees
- Your vendor types, from local shops to service providers
Your marketplace platform setup moves faster when these decisions come first. You should know who you serve, how you earn revenue, and what seller experience you need.
Gather the launch essentials early. That usually includes:
- Your domain and email setup
- Logo files, colors, fonts, and other brand assets
- Payment gateway access, such as Stripe or PayPal
- Basic legal items, including terms, privacy policy, and tax requirements
Pro tip: Ask your payment provider about marketplace payouts early. Split payments and KYC checks often add extra setup steps.
Finally, confirm who approves what. You may need sign-off from marketing, operations, finance, legal, or your client before launch.
 Before you start, gather the platform requirements and operational pieces you’ll need.
Step 1: Define Your Marketplace Model and Niche
Choose your marketplace model first. This decision shapes your online marketplace features, vendor rules, and buyer expectations from day one.
Pick the model that matches how people buy and sell:
- B2C for individual shoppers buying from many sellers
- B2B for wholesale, repeat orders, or negotiated pricing
- Services-based for bookings, quotes, or project work
- Product-based for physical or digital goods
You should now see which workflows your multi-vendor platform must support. A services marketplace needs calendars and milestones, while a product marketplace needs inventory, shipping, and returns.
Define your niche and value proposition next. If your idea sounds like a broad Amazon or Etsy clone, it will struggle to attract loyal buyers or quality vendors.
State your focus in one sentence. For example: “A marketplace for independent fitness studios selling local class packs” beats “a site for everything.”
Pro tip: If you are asking how to build an amazon style marketplace, narrow the category first. Strong marketplaces win by focus, not by copying Amazon’s size.
Map the buyer journey, seller journey, and revenue model at a high level. This keeps setup simple later and prevents messy rework.
Outline:
- How buyers discover, compare, and purchase
- How sellers apply, list, and fulfill orders
- How commission management will work, such as 10% per sale or tiered rates
You should now see where approvals, payouts, and support touchpoints belong.
Validate demand before you build. Talk to 10 buyers and 10 vendors, review search trends, and confirm sellers actually want another channel.
Pro tip: If you want to know how to launch a multi vendor marketplace, secure vendor supply before design work. Empty marketplaces rarely convert.
 Your marketplace model and niche determine the rules, features, and buyer expectations.
Step 2: Choose the Best White Label Marketplace Platform
Compare platforms against the work you need to do every week. The best white label marketplace platform should let you launch fast, customize deeply, and manage sellers without patching together five extra tools.
Start with four filters:
- Setup speed — Can you launch a working marketplace in days or weeks, not months?
- Customization — Can you change branding, navigation, checkout, and vendor flows without custom code?
- Vendor tools — Does each seller get a clear seller dashboard for products, orders, payouts, and support?
- Integrations — Does the marketplace software connect to payments, email, CRM, analytics, and shipping tools you already use?
You should now have a short list of platforms worth a real demo.
Check whether the platform truly supports multi-vendor operations. Some tools say “marketplace” but only bolt on seller accounts, which creates messy approvals, weak catalog control, and limited commission rules later.
Review these areas during your demo:
- Seller onboarding with approval steps, document collection, and role-based permissions
- Product listing management with bulk uploads, variants, inventory syncing, and moderation
- Order routing so each vendor sees only their orders and fulfillment tasks
- App and web support if you need both a browser storefront and a branded marketplace app
Pro tip: Ask the vendor to show the full seller journey live, from signup to payout. A polished homepage means little if the back office breaks under daily use.
You should now see whether the platform fits your workflow, not just your design goals.
Prioritize agency-friendly features if you build for clients. Strong white label marketplace software for agencies should support client handoff, reusable templates, admin controls, and repeatable deployment across multiple accounts.
Avoid platforms that lock your branding, restrict payment providers, or make listing edits painful. Those limits slow launches, frustrate clients, and turn simple updates into support tickets.
Warning: If you cannot control logos, domains, commission logic, and payout settings, you do not have a true white-label system.
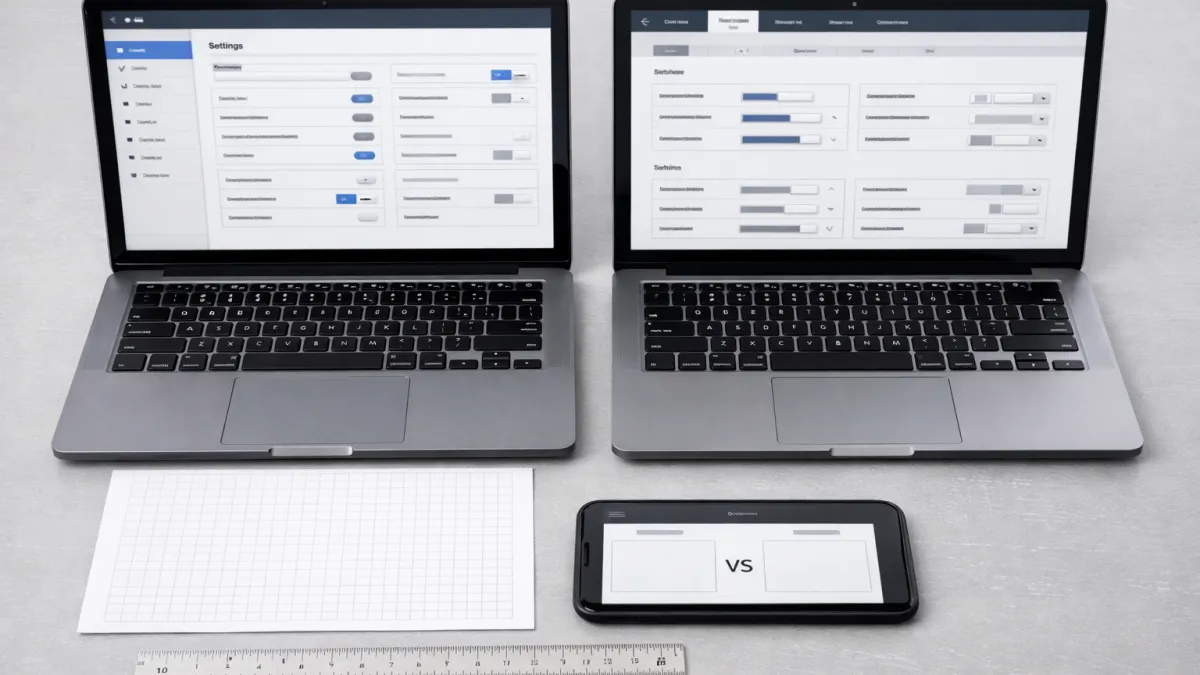 Compare platforms by capabilities, customization options, and how quickly you can launch.
Step 3: Set Up Branding and Marketplace Customization
Apply your client’s visual identity before you touch page layouts. This is how to create a branded marketplace that feels owned, not rented, even when you build on white label software.
Start with the brand basics:
- Upload the logo in header, footer, favicon, and email templates
- Set primary and secondary colors for buttons, links, badges, and alerts
- Choose 1-2 fonts that match the client site and stay readable on mobile
- Connect the custom domain and SSL so buyers see a trusted URL
You should now see a consistent branded marketplace across every customer touchpoint.
Pro tip: Keep contrast ratios strong. Dark text on light backgrounds usually converts better and reduces support issues.
Customize the core pages your buyers and sellers use most. Strong marketplace customization should improve trust without changing the platform’s core buying and selling logic.
Focus on these areas:
- Edit the homepage hero, featured categories, and calls to action
- Style category pages with branded banners, filters, and product card layouts
- Update vendor profiles with logos, bios, ratings, and policy sections
- Match the checkout flow with brand colors, trust badges, and clear order summaries
You should now see a storefront that looks custom, but still works like the platform intended.
Pro tip: Test checkout on desktop and mobile after every design change. A broken cart costs sales fast.
Configure navigation, messaging, and trust signals last. Add clear menu labels, shipping and return links, contact details, reviews, and secure payment icons.
Keep custom branding inside theme settings, page builders, and approved modules. If you edit core files, you risk breaking vendor dashboards, payouts, or buyer notifications during future updates.
Frequently Asked Questions
What is a white label marketplace?
How do you build a white label marketplace for clients?
What features should the best white label marketplace platform include?
How is a branded marketplace different from a standard marketplace app?
How much does white label marketplace software cost?
What is the biggest challenge in vendor management for a multi vendor marketplace?
Can a white label marketplace scale from 10 sellers to 1,000+?
Rental Platform vs Build: Complete Guide to Choose Best
Next →Local SEO Strategy 2026: How to Win for Home Services
Related Articles

Rental Platform vs Build: Complete Guide to Choose Best
Rental platform vs build—learn which option wins. Compare RightClick Rentals, white label rental platform, and custom rental platform for faster launch.

Whitelabel Rental Platform: 7 Best Features to Look For
Whitelabel rental platform: check these 7 best features before you buy—booking workflow, payment processing, host dashboard, and scalability.

Email Marketing Strategy for Small Business: Complete Guide
Build an email marketing strategy for a small business with step-by-step email list building, segmentation, automation, and metrics. Start now.